IKEA Hack Curtains
We’re a bookish family. When we moved house, we struggled to find the right place to set up our bookshelves. Consequently, most of our books have been stuck in boxes. We decided to get a custom shelf built to go around the sliding doors that lead to the conservatory. Something a bit like this. But with curtained sliding doors.
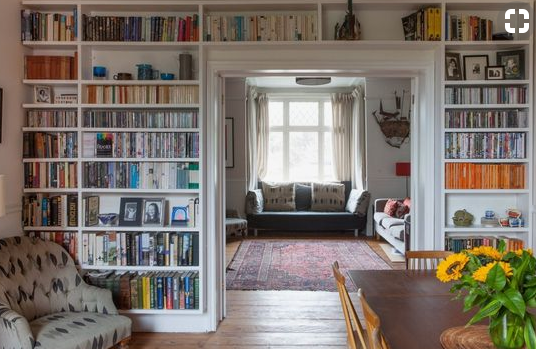
Getting the joiner to do the job is taking longer than I’d anticipated. Being fed up with the old curtains, I decided to go ahead and make the new curtains while I was waiting. The challenge was to make the curtains adjustable, so that they would fit the space pre-bookshelf space now and then be easily altered to fit the post-bookshelf space later.
 |
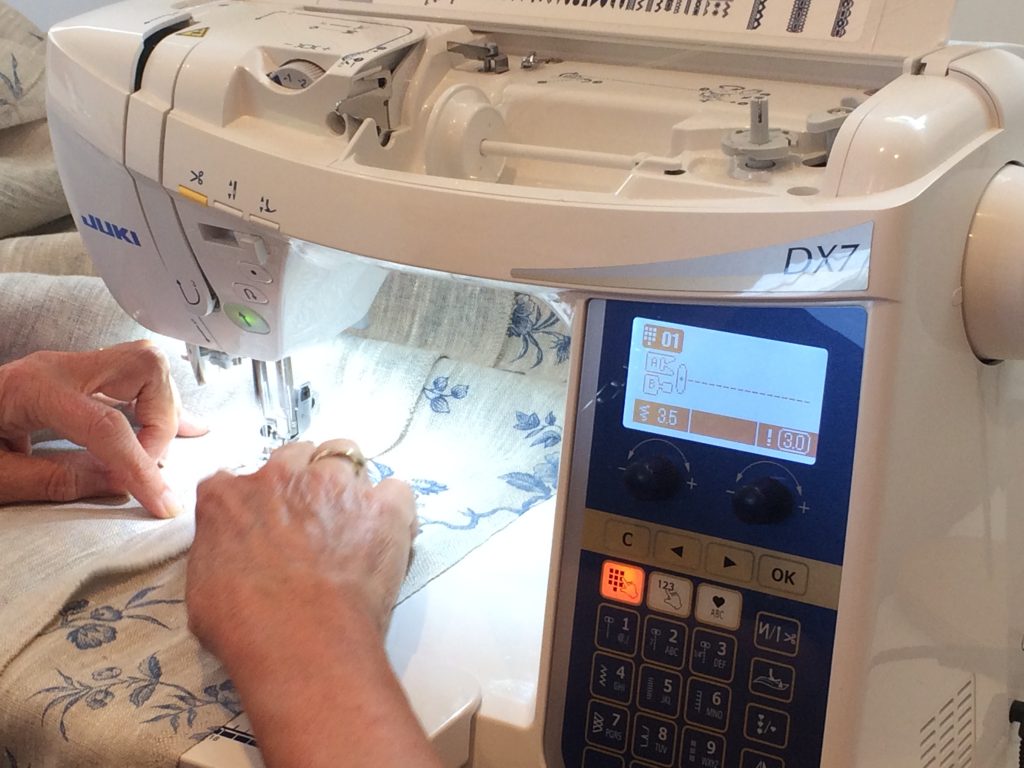 |
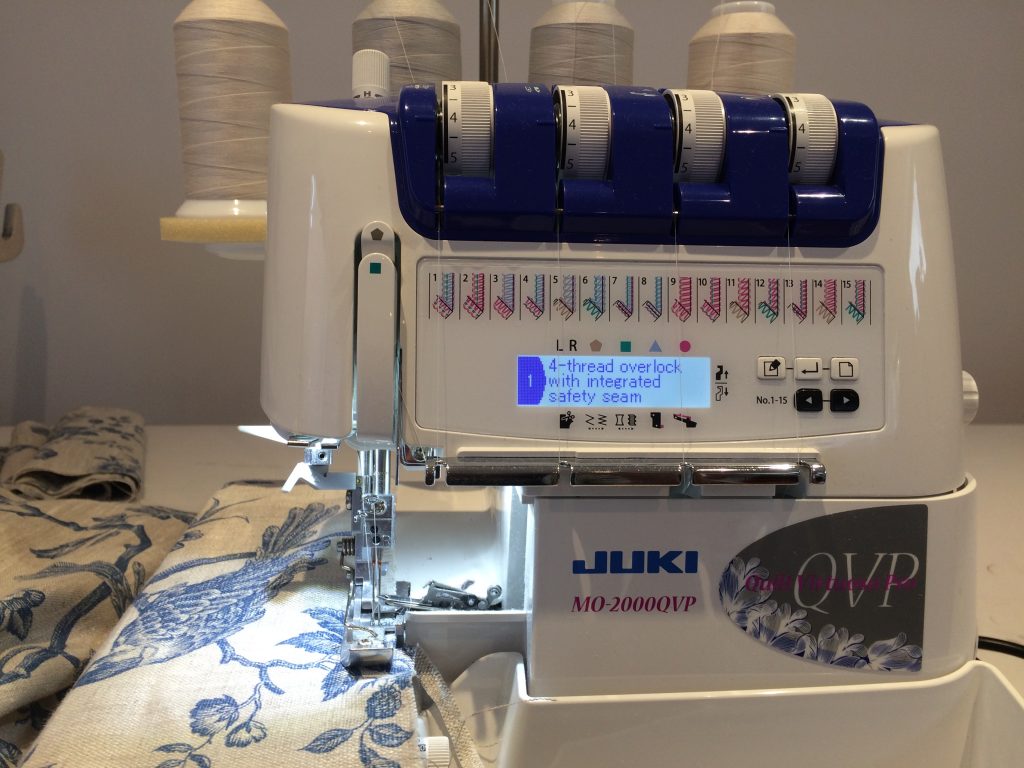
I already had some lovely fabric. My friend Jackie came over to help for an afternoon. We cut and matched the pattern then whizzed them together using the Juki MO 2000 overlocker. All the edges were finished with the overlocker but only the side edges were turned in and stitched down.
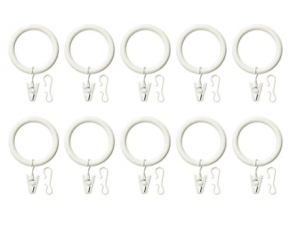
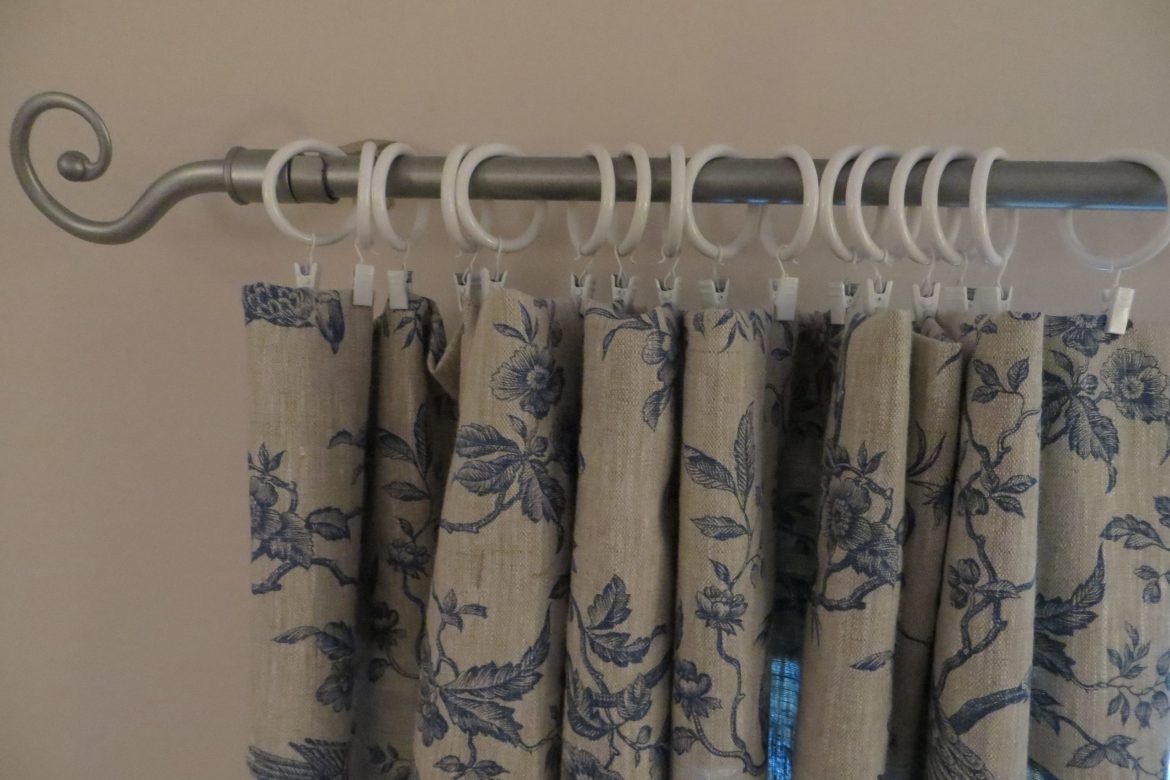
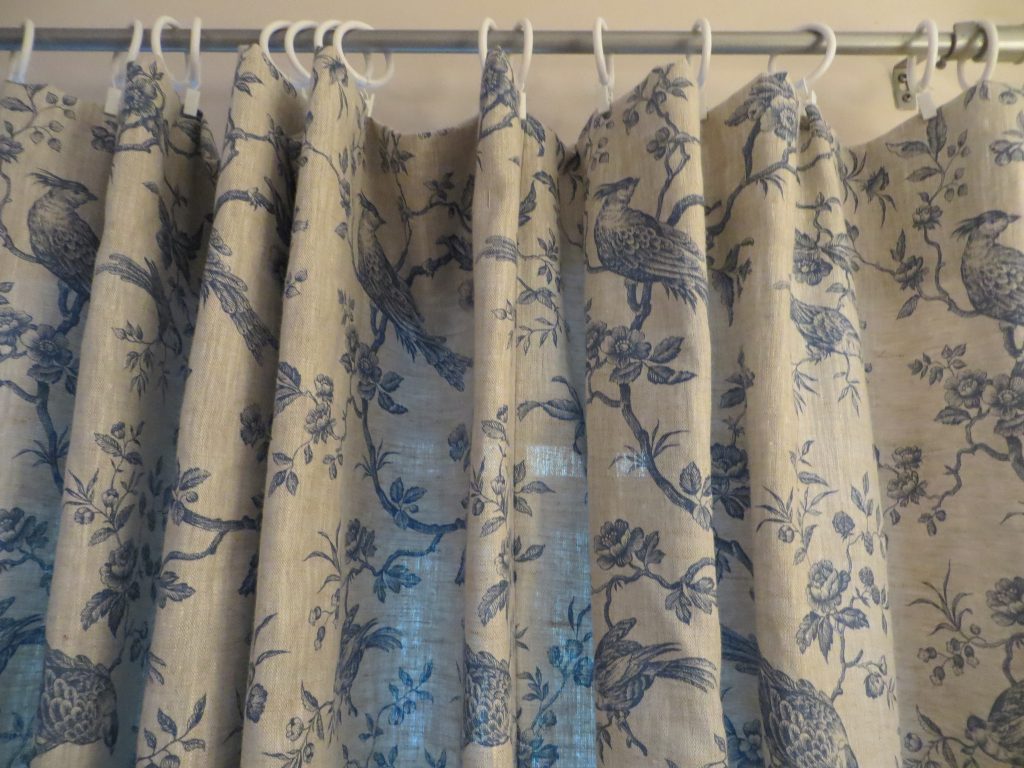
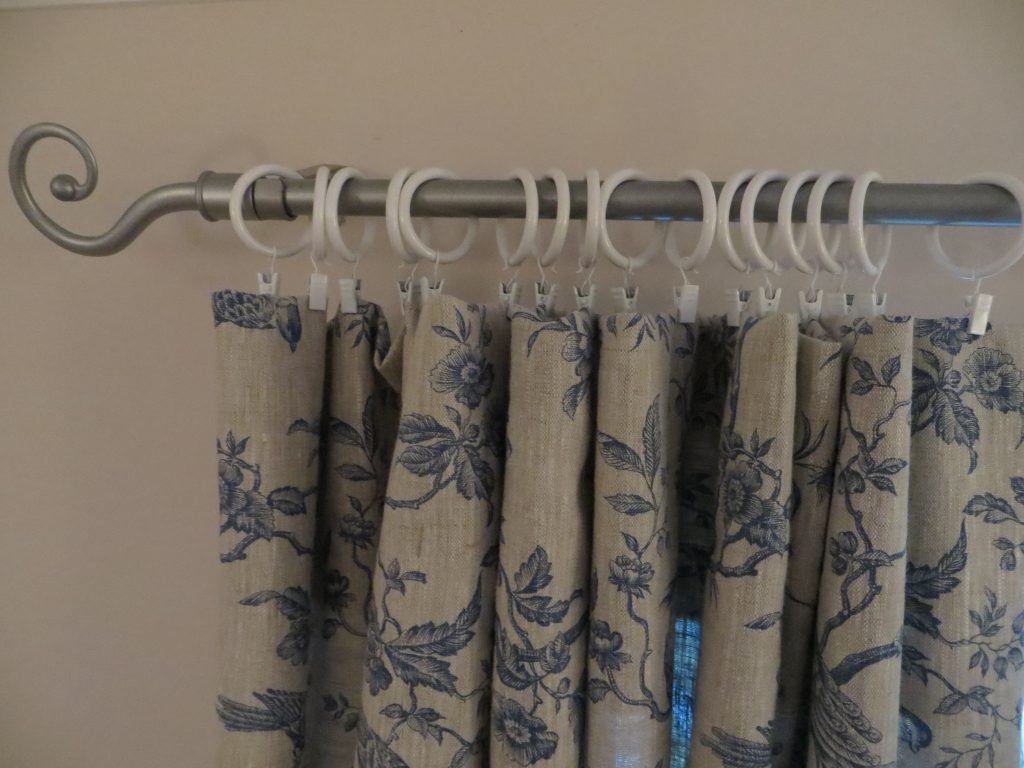
Now for the clever part. IKEA sell these curtain rings with little clippy bits. To make the curtains fit the temporary space, I simply folded the top over and grabbed the fold with the clippy bit on the curtain rings. The overlocking gave such a professional finish that the curtains look finished even though they’re not!
When we get the bookshelf made, I’ll finish them properly to fit the new space, hemming the bottom and stitching down the top. But right now they look great! Not bad for an afternoon’s work. Having the right tools makes all the difference.
 |
|
 |
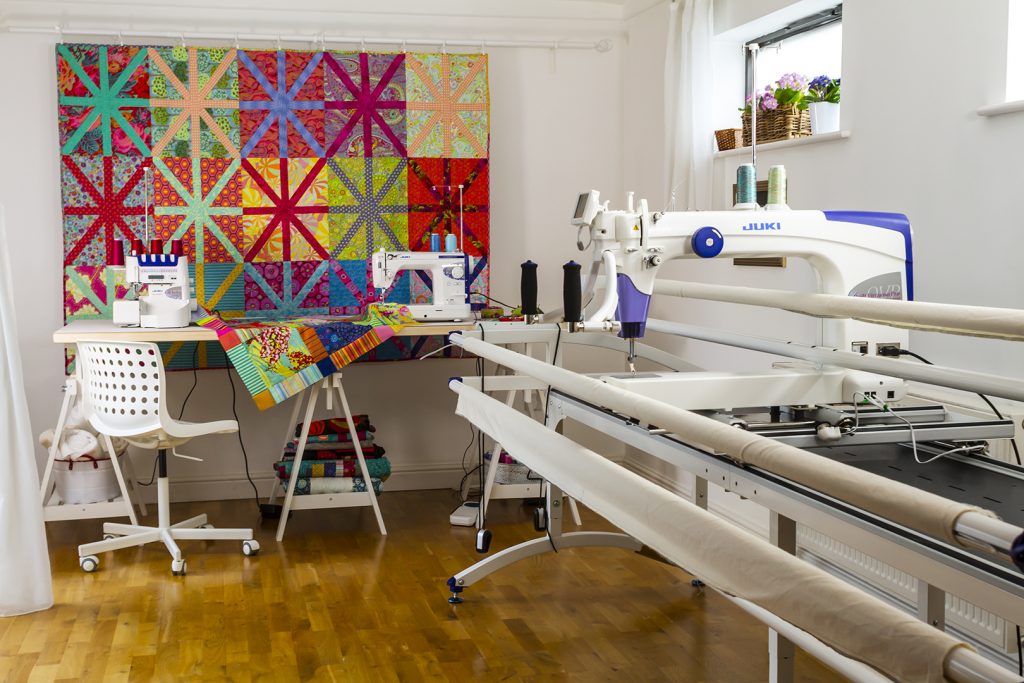
Take note quilters, these IKEA curtain rings with clippy bits have other brilliant uses. They’re perfect for displaying your quilts on a wall. I use it in my studio. The clippy bits make it easy to change my quilt to suit the season or to change the backdrop for a film shoot. I can also use this IKEA curtain rod set up to create a design wall by adding white flannel or wadding. And while you’re at it, just overlocking the edges of the flannel or wadding will give your design wall a tidy professional finish in minutes!
