Christmas in July: Line by Line Postcard Project
 We had a great time hosting our Juki Club LIVE: Christmas in July event in the Franklins Shop in Colchester last weekend. The weather was truly tropical! We had fun playing with tropical and Christmas fabrics and line designs at the same time. Juki Club LIVE provided free projects for the Juki DX7 machines through out the day. We’re posting the directions here so if you couldn’t make it to the Christmas in July event, you can still do the project at home.
 I love this project! Start with a piece of wadding. We’re using the flatter needle punched variety but any wadding will suit. We’ll be making machine quilted postcards. If you cut your wadding about the same size as an A4 piece of paper, you’ll get 2 postcards. You can extend the size as you go along by zig-zagging more wadding to the original piece. This is a very free flowing project.
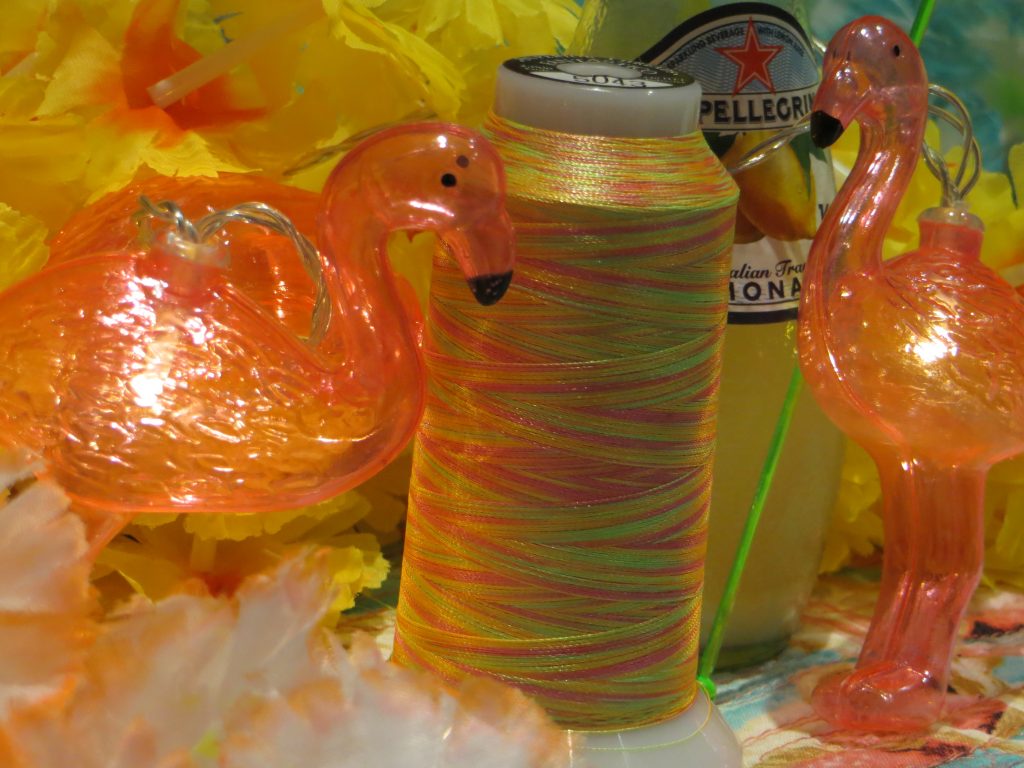
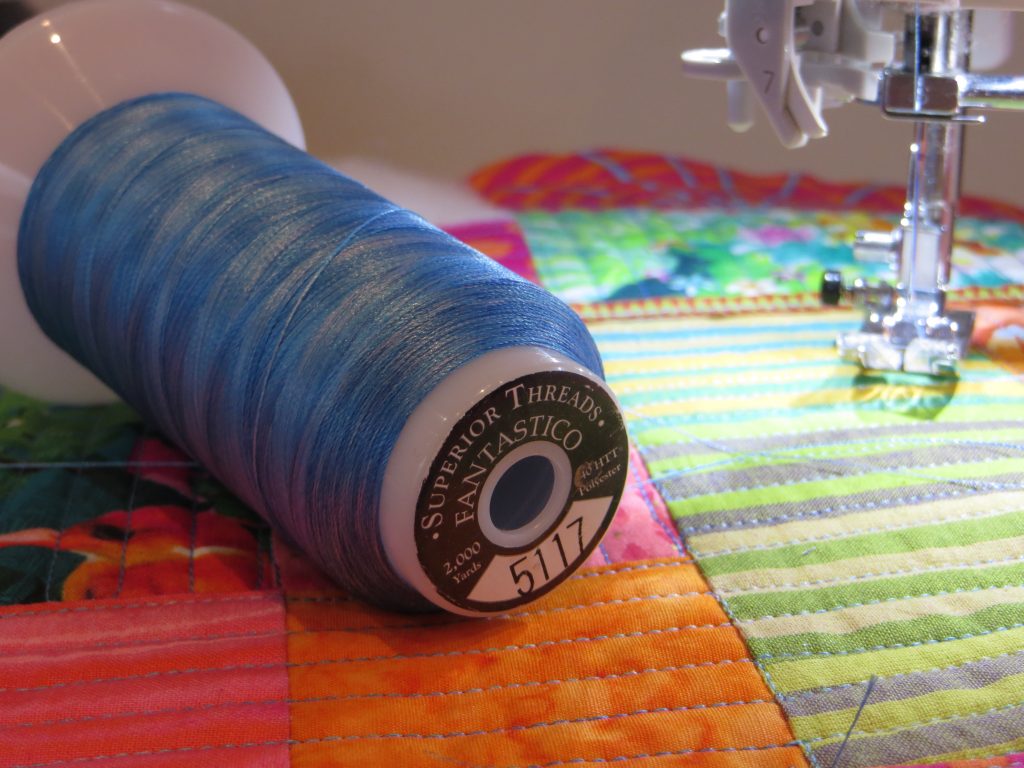
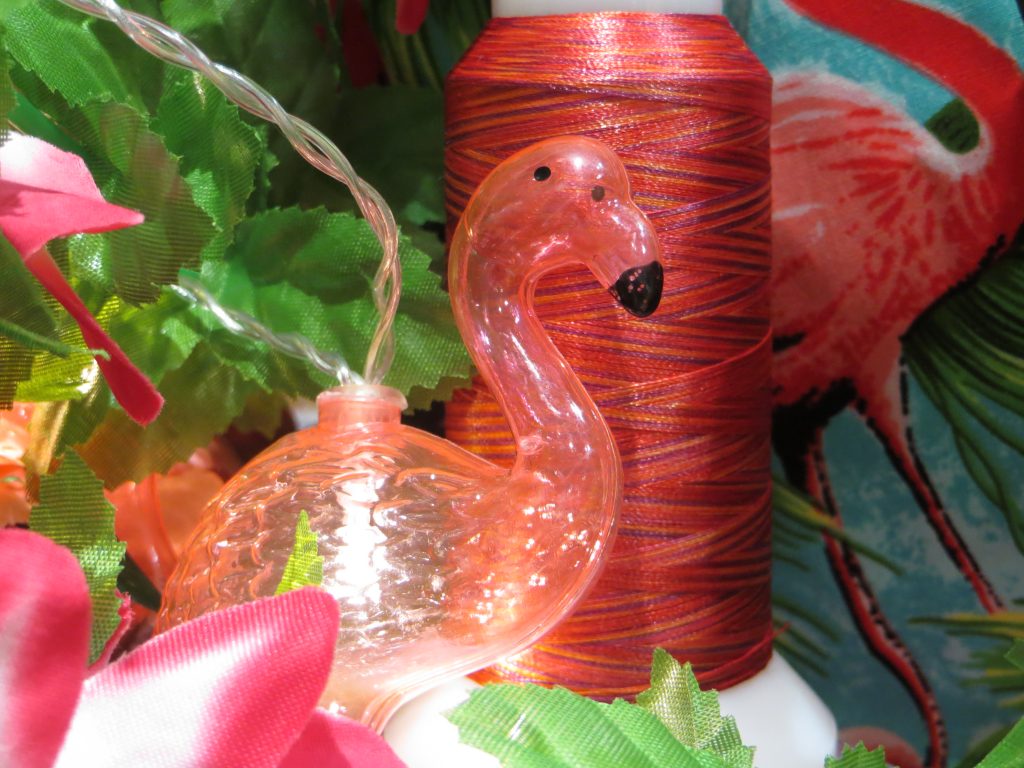
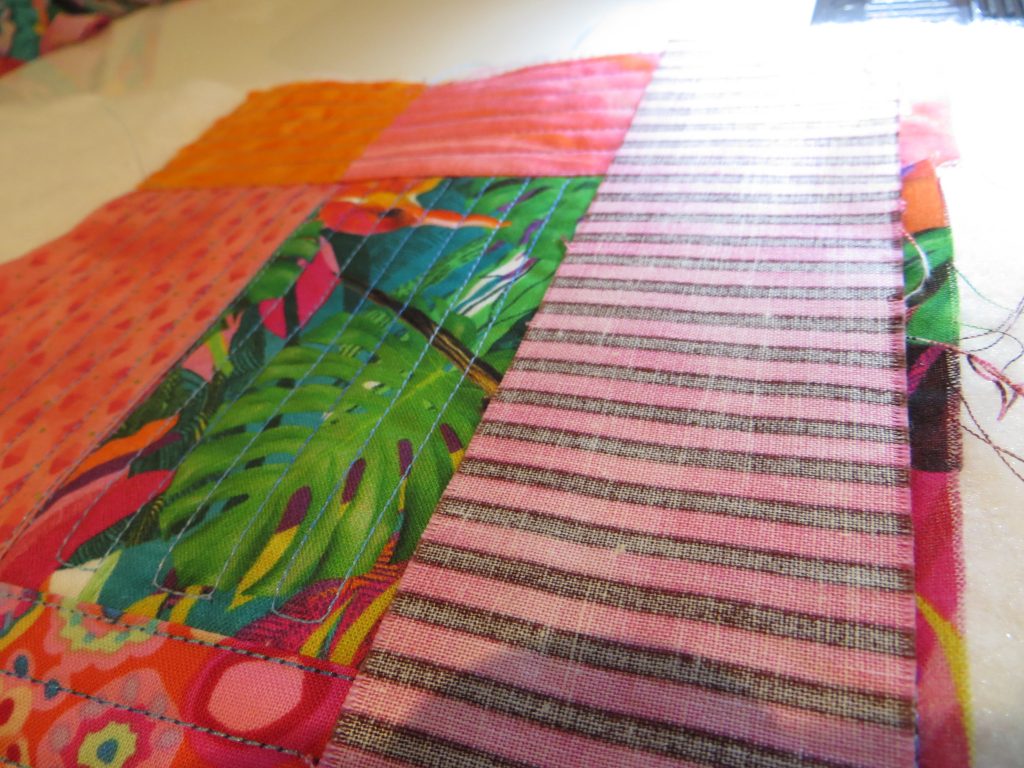
Think about the theme. We’ve got a variety of scraps to choose from; Christmas fabrics and tropical fabrics too. Choose a bit of fabric for the centre, and place it off-centre on your wadding. You’ll be using a straight stitch quilt-as-you-go method.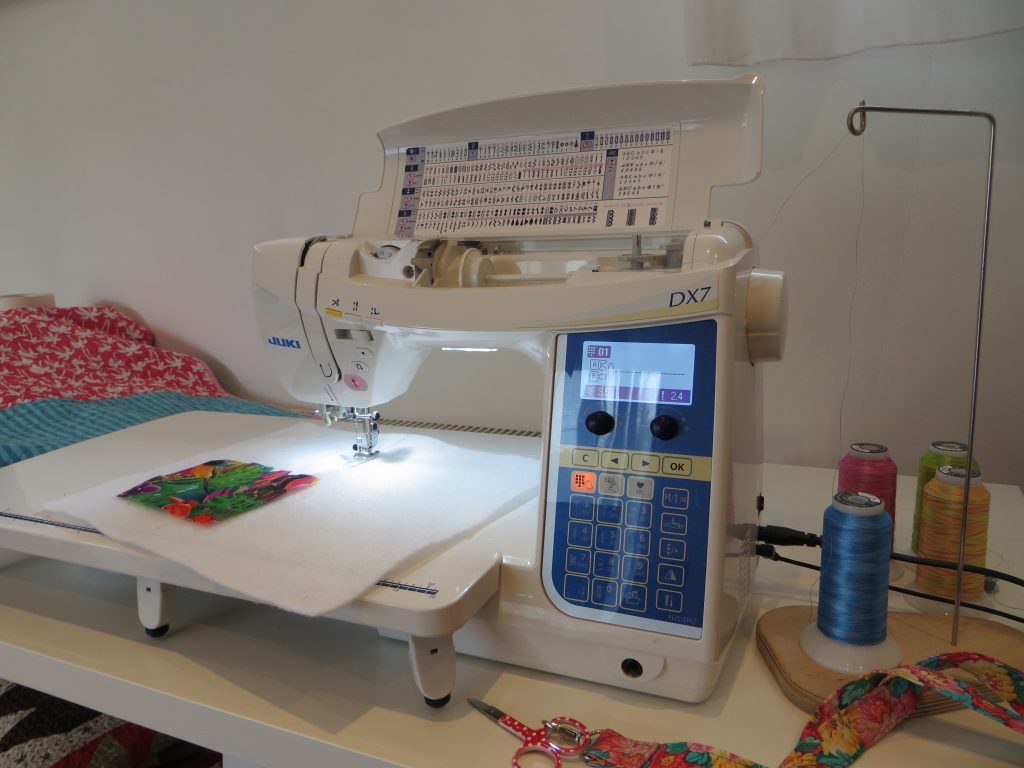 Choose some fun specialty threads. We have variegated and plain, metallics, silks and cottons. We had all these pretty variegated threads out for people to choose. Notice the thread stand in the photo above? It allows these larger, more economical cross-wound cones to work with any sewing machine. Choose a thread that looks good with your fabrics. Use the thread stand, pop the thread through the metal loop and thread the Juki DX7 machine as usual. Enjoy the automatic threader!
 |
 |
 |
 |
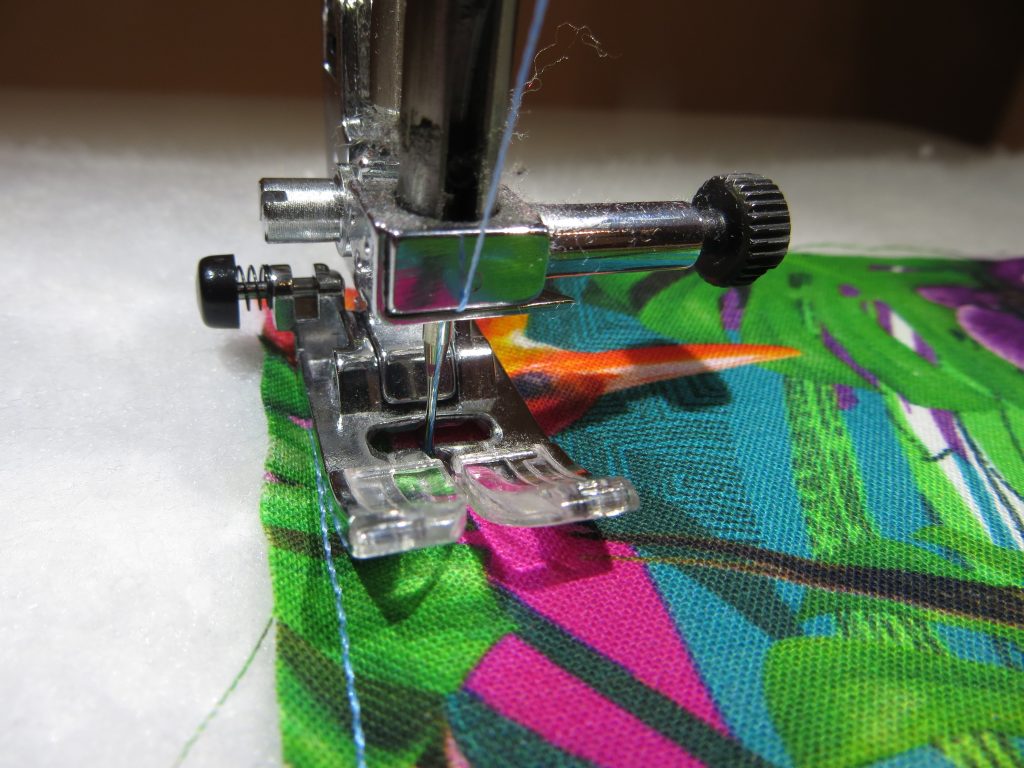
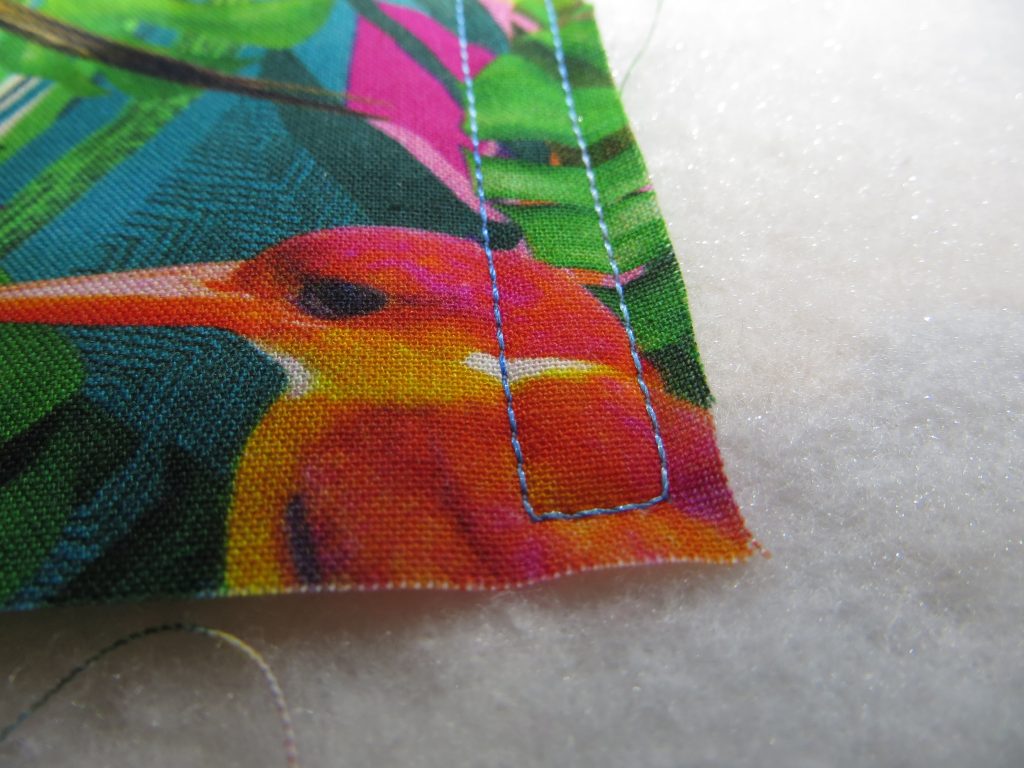
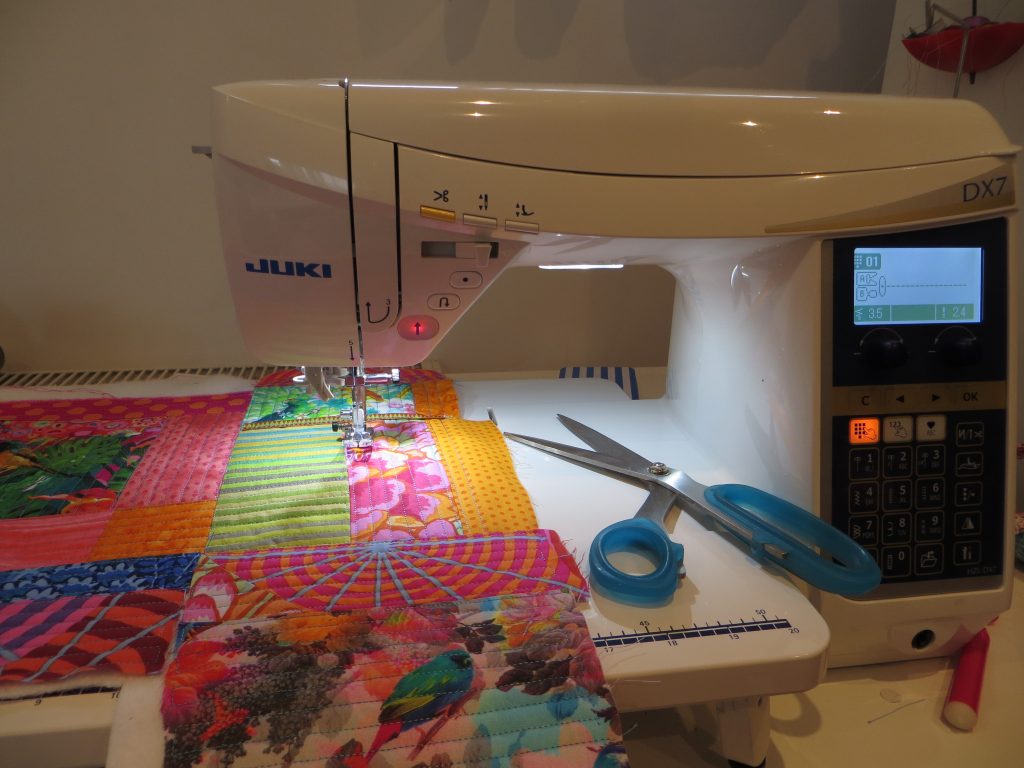
We’ve put a 100/16 Topstitch titanium coated needle in the Dx7 for you. It’s the perfect needle for quilting with specialty threads and the titanium coating keeps it sharp even sewing through card. Check your DX7 machine to make sure that the slide plate under the clear bobbin area cover is all the way to the left, in the dot position. This will ensure a lovely straight line of stitching.
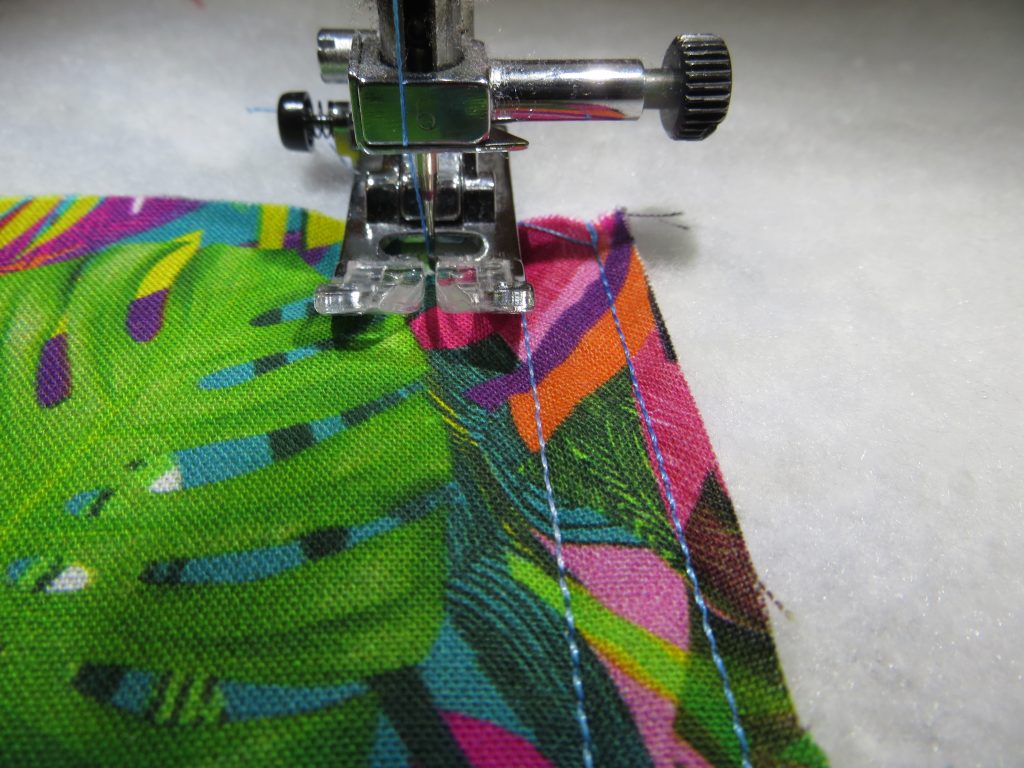
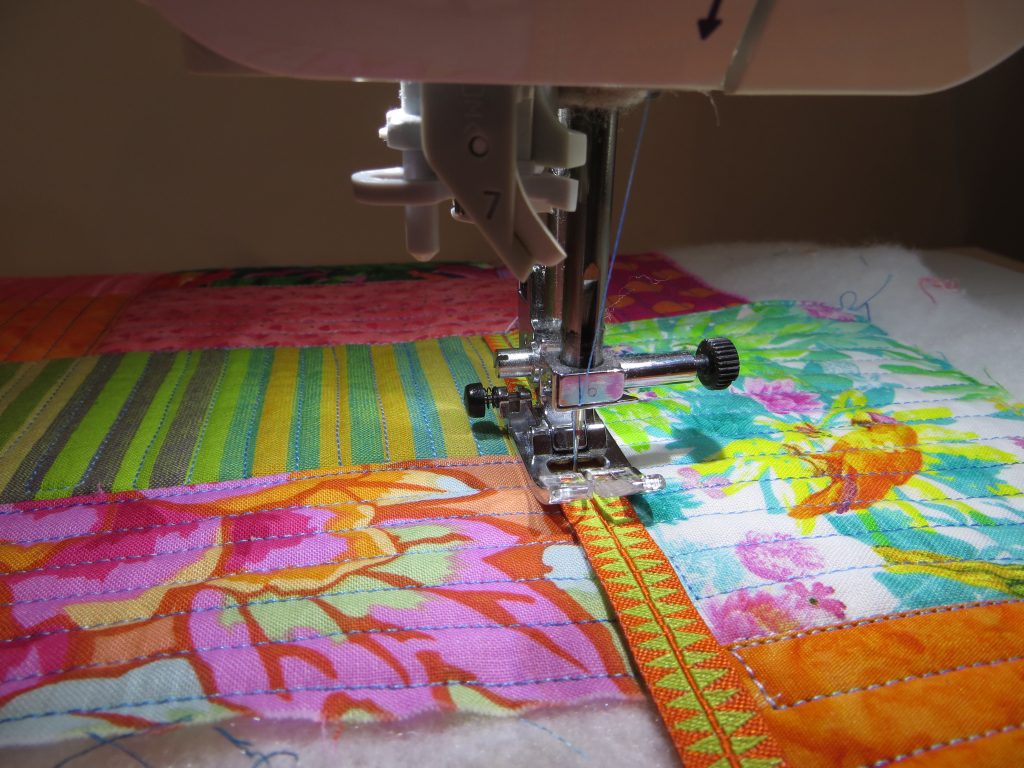
Begin at one corner and straight stitch all the way to the end of the scrap. Pivot the fabric and take 4 stitches to get in place for the next line. Pivot the fabric again and stitch back. The float function on the Dx7 will make the pivoting easy. Each time you stop stitching, the pressure foot will rise slightly allowing you to pivot the fabric without needing to stop and manually raise the pressure foot. As long as you go the same number of stitches over each time, your lines will be evenly spaced. I’ve gone 4 stitches across as that brings my line of stitching just to the edge of my pressure foot. Go down and back again until you’ve stitched the scrap fabric to the wadding.
 |
 |
 |
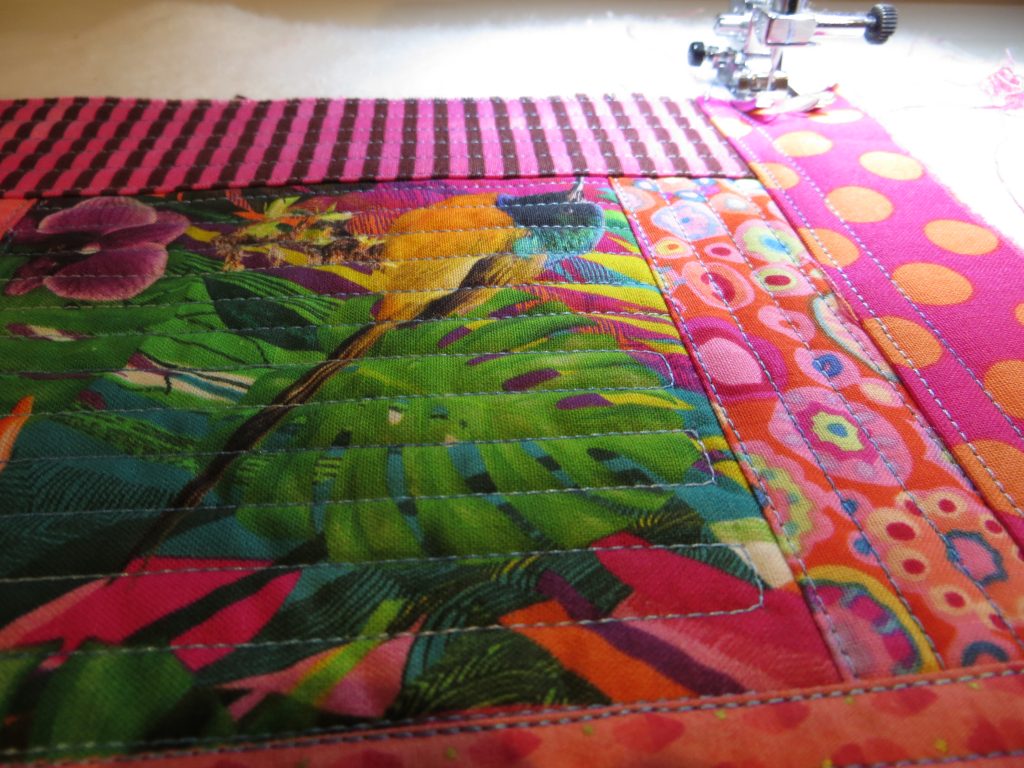
Choose another fabric, about the same size as the original piece, lay it right sides together and stitch along the edge to anchor it in place, flip it over and then do the same again, stitching line by line. BUT this time make your lines go in the other direction; if your lines were vertical the first time, now go in a horizontal direction. Stitch to the end swivel count 4 stitches, swivel again and come back the other direction until you’ve covered the next piece in lines.
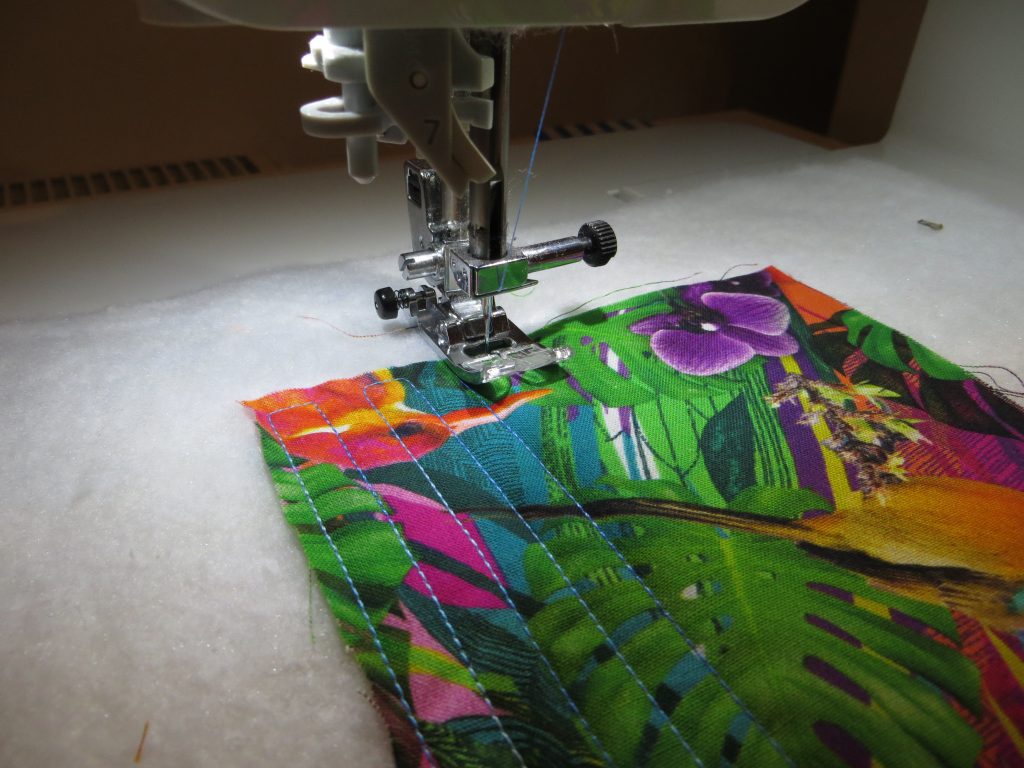
 Choose another fabric, this time big enough to cover the previous 2 pieces of fabric, place it right sides together, stitch it down, flip it right side up and use lines to stitch it in place line by line all the way to the end.
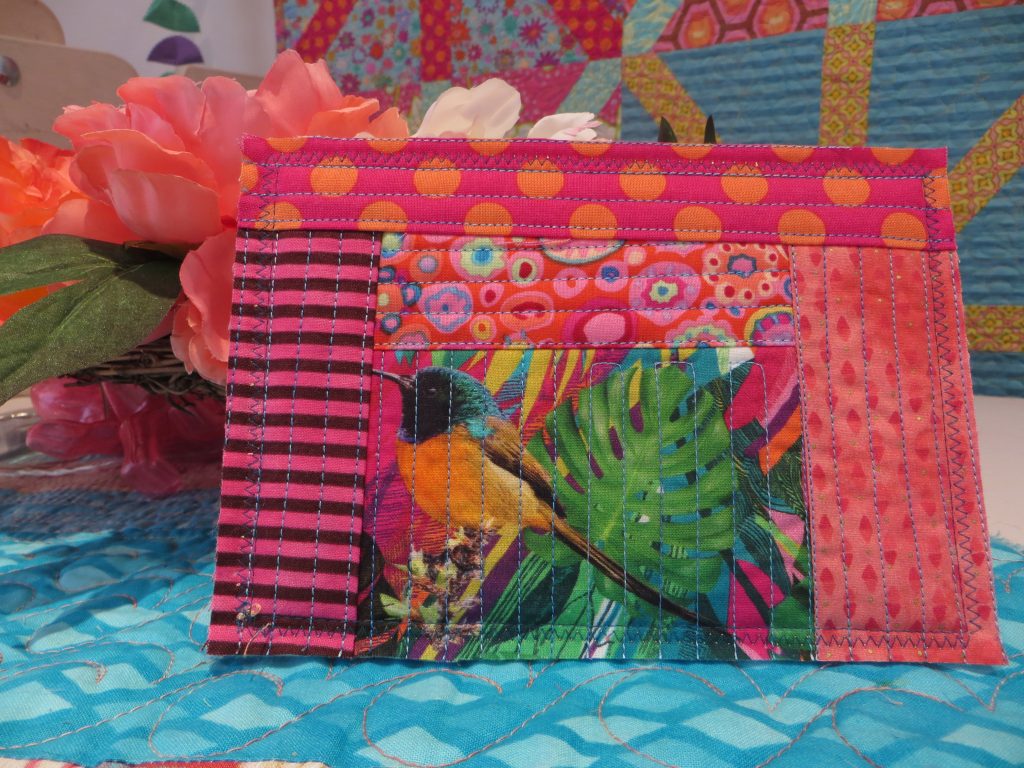
 The method is like the log cabin block but more random as you choose the size of the fabric scraps, the placement and the direction of the lines. You can also add ribbons, rick rack and selvedges at any point along the way. You can piece fabrics together before stitching them down. Or you can start a new ‘log cabin’ in another section of the wadding. So many choices! Enjoy playing with the fabric and threads.
 |
 |
 |
 |
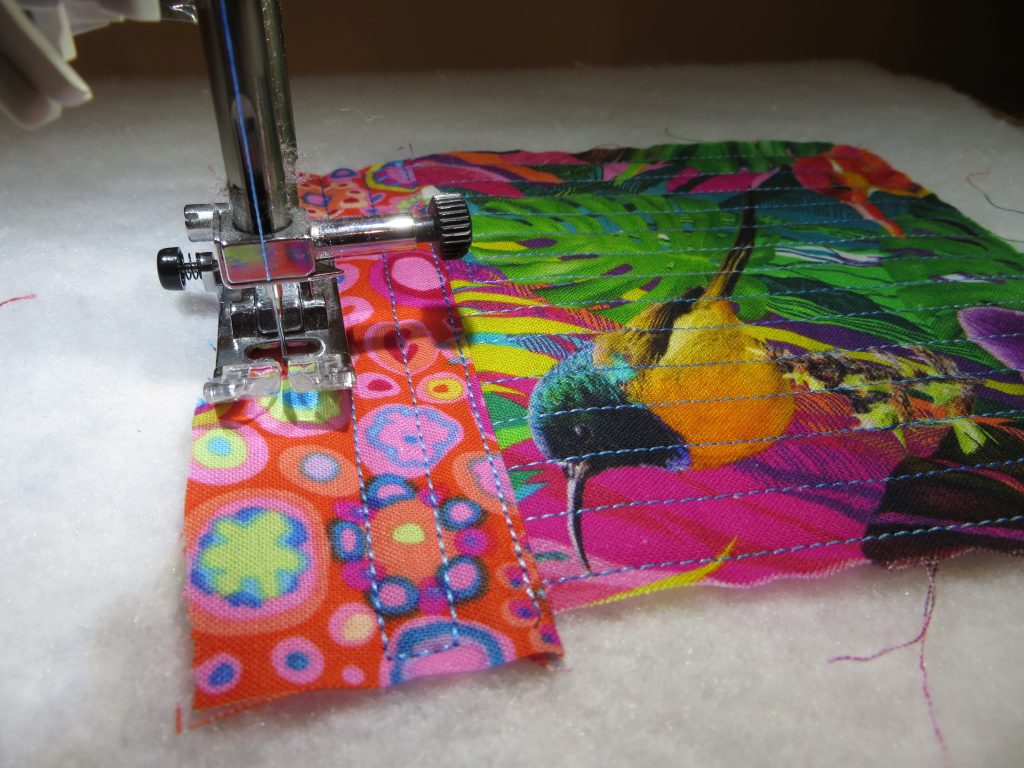
When you’ve filled your space, line by line, you’ll have a one-off original never-to-be-repeated little quilted square that you can use for other projects.
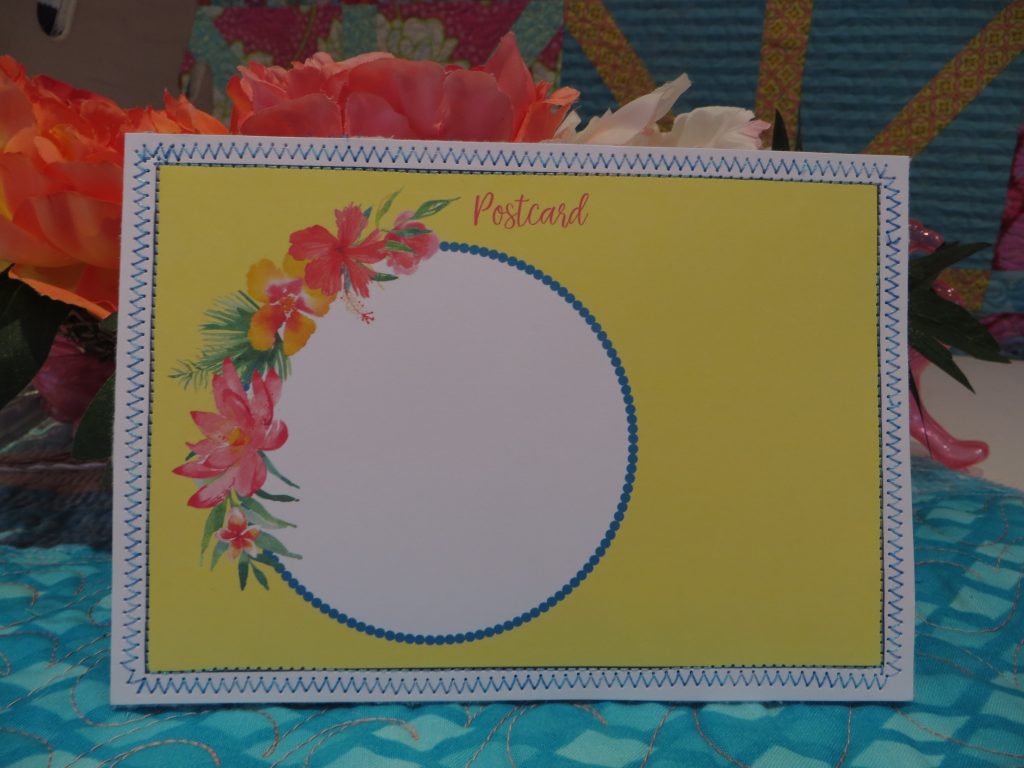
 Today we’ll be using your straight line quilted montage to make textile postcards. Choose some postcards and use them as templates. Click here to download your own postcard pdf file that you can print on your computer printer.
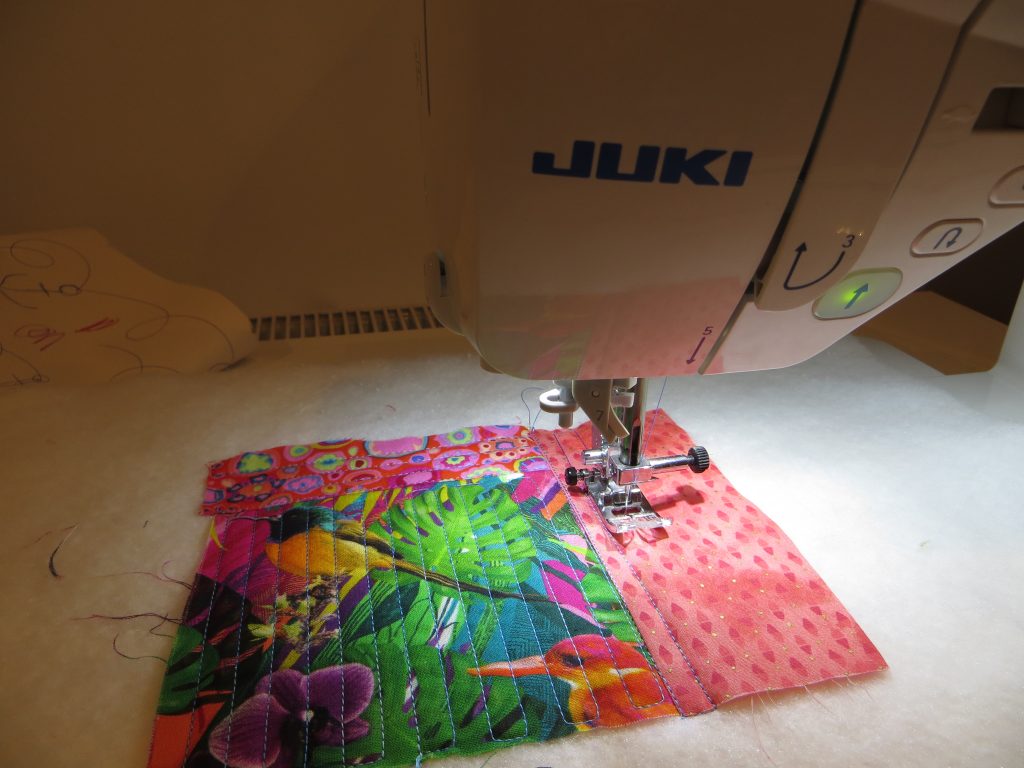
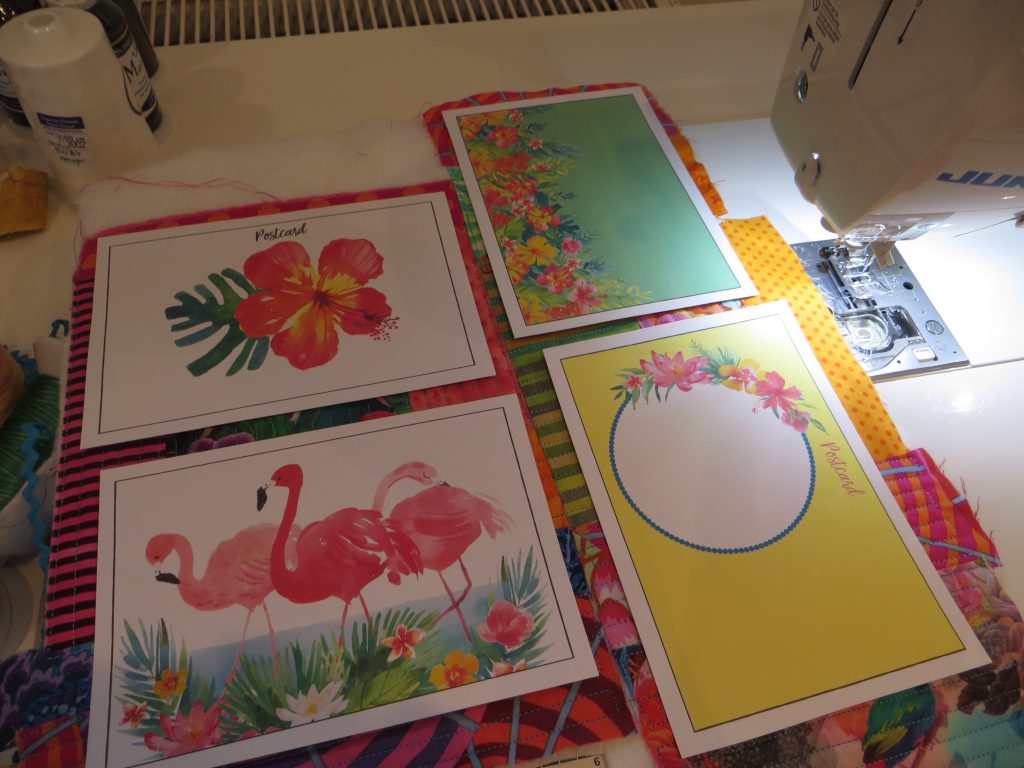 Lay them on the parts of your quilted piece that you like the best. Cut around the paper postcards, making sure that the fabric piece is a bit longer and wider than the paper postcard template. Put the wrong sides together; place the good side of the fabric facing down and the good side of the postcard facing up. Now you’re going to stitch them together using the inner black line on the postcard as a guide.
 |
 |
 |
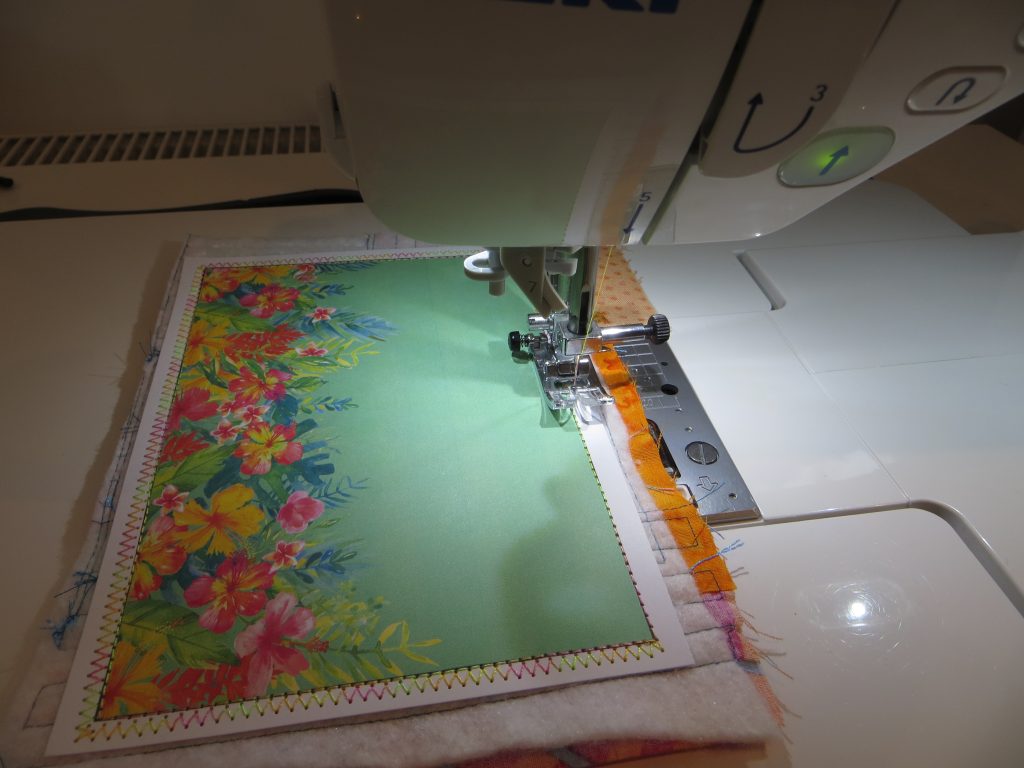
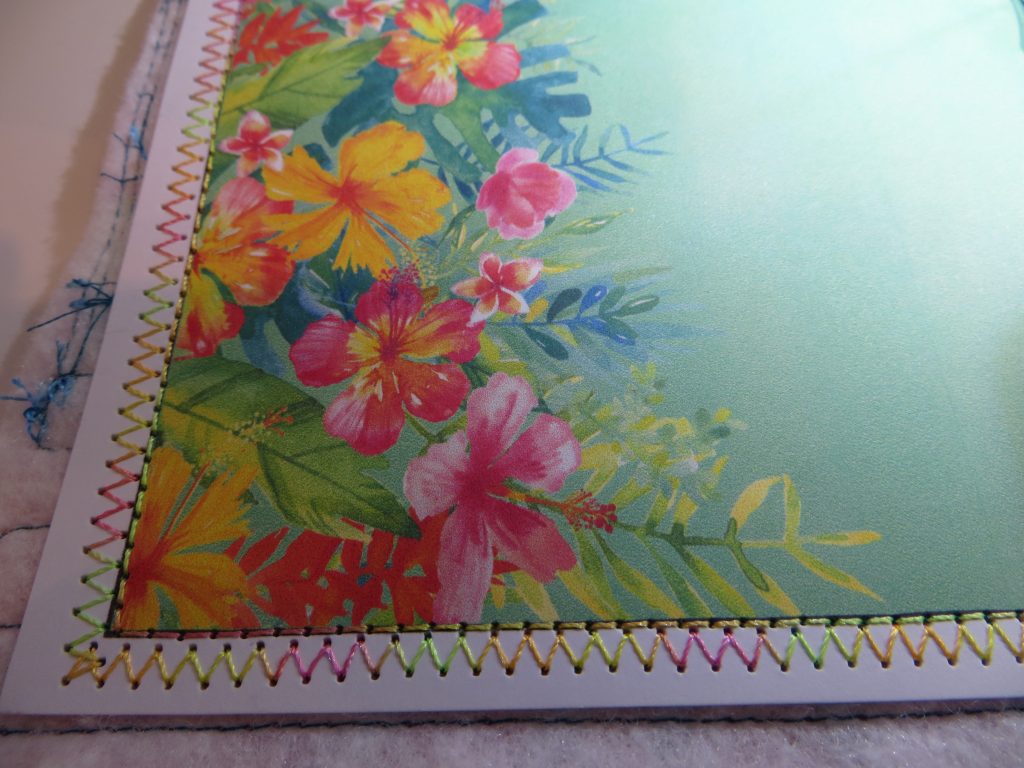
Straight stitch all the way around your postcard. Open the clear needle plate cover and push the straight stitch slide plate all the way to the right towards the dash. Now you can do a zig zag stitch. Zig zag all the way around the postcard covering the space between the stitched line and the end of the postcard. Try to avoid going over the edge. Doesn’t the variegated thread look gorgeous! Get a good pair of sharp scissors and cut off the extra fabric using the edge of the paper postcard as a guide.
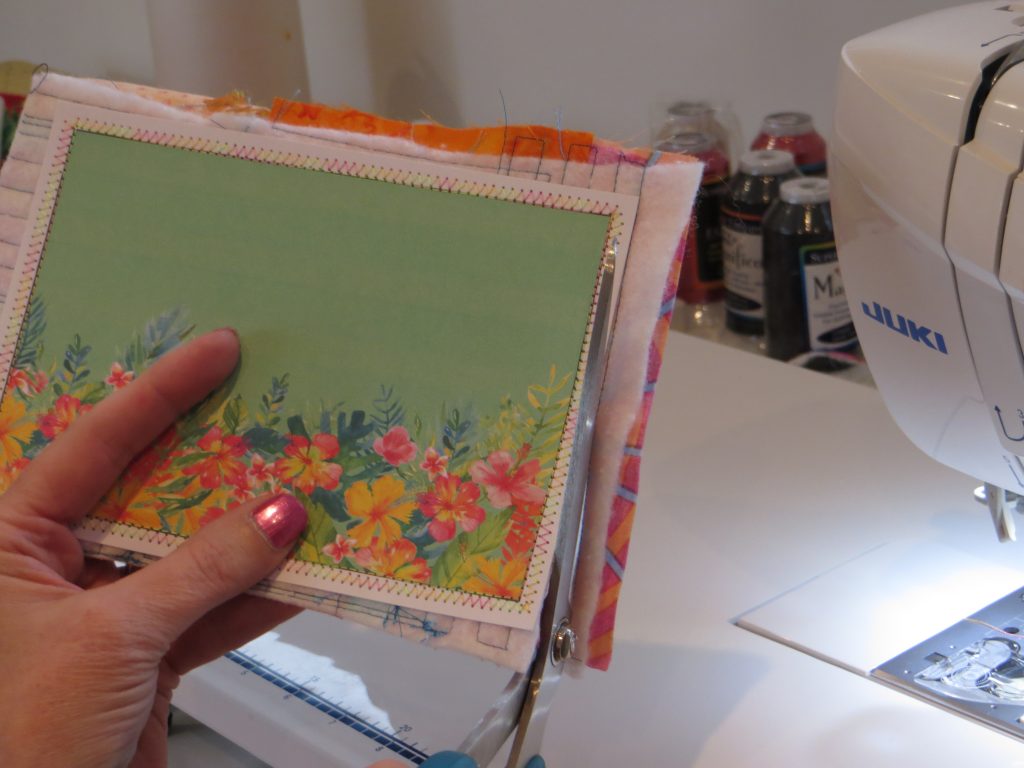
Turn it over, snip off any spare threads and you have a lovely little postcard quilt that you can send to your family and friends. People who work in the post office love them too. It’s so fun you may want to make more!
 Here’s the fabric side above and the paper postcard side below.